
Outlets, Corners, and Fastening Schedules: Sasquatch Field Details for Texas Commercial Gutter Jobs
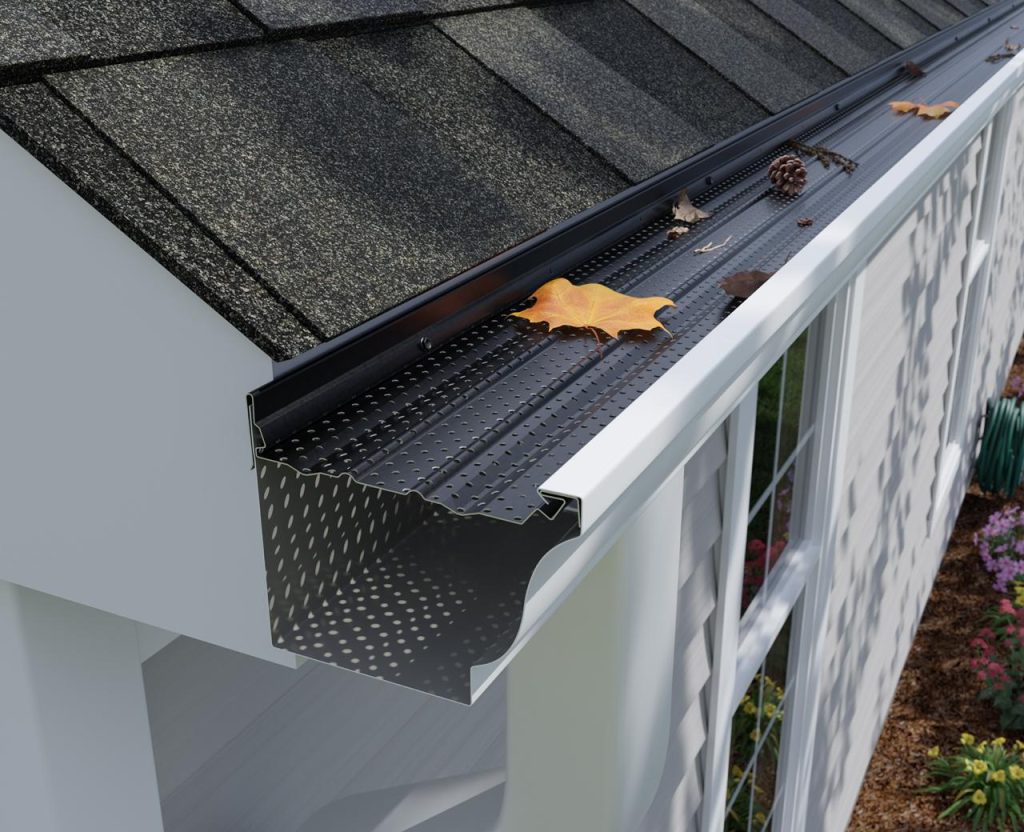
Long straight runs are the easy part of a commercial gutter job. The details that decide whether a gutter protection system performs are at the outlets, the corners, the ends, and the fastening schedule. Those are also the places where estimates run short and crews improvise.
Sasquatch is E-Z Gutter Guard's hangerless gutter protection system, a cover installed together with the gutter rather than a gutter itself. This post walks through the field details from the Sasquatch installation guide that Texas estimators, roofing contractors, and gutter crews should plan for before a commercial job starts.
The basics that set up every detail
Sasquatch is installed at ground level, before the gutter goes on the building. The crew runs the gutter to length, installs outlets and endcaps, caulks seams, and then locks Sasquatch into the gutter's front hem with the gutter on stands. Screws are pre-started through the patent-pending rear screw ledge, and the assembled gutter and cover are fastened to the fascia together.
Key product facts, per the E-Z Gutter Guard Sasquatch page and the install guide:
- 5-inch and 6-inch widths, 7.5-foot panels, black only.
- .019-inch high-strength aluminum standard, or .022-inch Arctic Extreme heavy-duty.
- Hangerless, so no separate hangers or clips are needed.
- Lifetime limited transferable warranty.
The guide also notes that the gutter machine should be calibrated to original factory specifications. A gutter profile that is off spec can cause inconsistent fit with the cover, which matters more on long commercial runs.
Panel overlaps and ends
Each panel has notches on its right end so the next panel can overlap it. The overlap is secured with one supplied black 3/8-inch screw, and the guide is explicit that there must be no gaps between pieces. At the end of a run, the last section is measured, the notched end is cut off, and the trimmed piece must fit tightly against the endcap.
The guide calls for cutting with a chop saw and a metal blade, slowly, and making cuts on the ground rather than on the ladder.
Outlets: plan an access panel at each one
Downspout outlets are where debris and maintenance concentrate, so the guide uses a dedicated Sasquatch Access Panel at each outlet:
- Stop the Sasquatch panel about 5 inches from the center of the outlet and trim off its notched edge.
- Place the 14-inch Access Panel so it overlaps the Sasquatch panel and leaves a clear 8 to 10-inch opening centered over the outlet.
- Fasten the overlaps with two supplied 3/8-inch screws on each side, fasten the Access Panel to the gutter hem, and attach it through the gutter into the fascia with two 1-1/2-inch screws.
Estimating tip
Count outlets during takeoff and order one Access Panel per outlet. On warehouses and big-box buildings with many downspouts, that line item adds up. Outlet count also ties back to drainage design. The SMACNA downspout and gutter sizing calculator is a common reference when deciding gutter size and downspout spacing.
Corners: two ways to handle miters
The guide gives two options for mitered corners:
- Sasquatch Pre-Cut Mitered Corners, which overlap the adjoining panels and each other.
- Access Panels cut at 45 degrees, for crews that prefer to cut corners on site.
Either way, the crew stops the Sasquatch panel 6 to 12 inches from the fascia corner, cuts and caulks the gutter miter using its standard method, trims a 1-inch notch on one side of the corner piece, and fastens the overlaps with supplied black 3/8-inch screws. Small openings are filled with black caulk, and 1-1/2-inch screws go through the corner piece and gutter into the fascia.
Commercial buildings with many inside and outside corners, such as retail centers and multifamily buildings with stepped facades, benefit from counting corners at takeoff and deciding which method the crew will use.
Fastening schedule
The guide sets a minimum and recommends more for harder conditions:
- Minimum: 1-1/2-inch screws in every third hole of the rear screw ledge.
- Heavy snow, debris, or ice load: screws in every hole or every other hole, and optional 3/8-inch screws through the top of the gutter hem for extra strength.
- Extreme situations: Sasquatch Arctic Extreme in .022-inch aluminum.
- Short end pieces: if the last section is less than a foot long, use at least two 1-1/2-inch screws through the back of the gutter into the fascia.
For Texas, that means a portfolio may not use one fastening schedule everywhere. A Houston retail center under heavy oak cover and a Panhandle building facing winter ice may both justify tighter spacing than a lightly treed urban site.
Fine debris areas
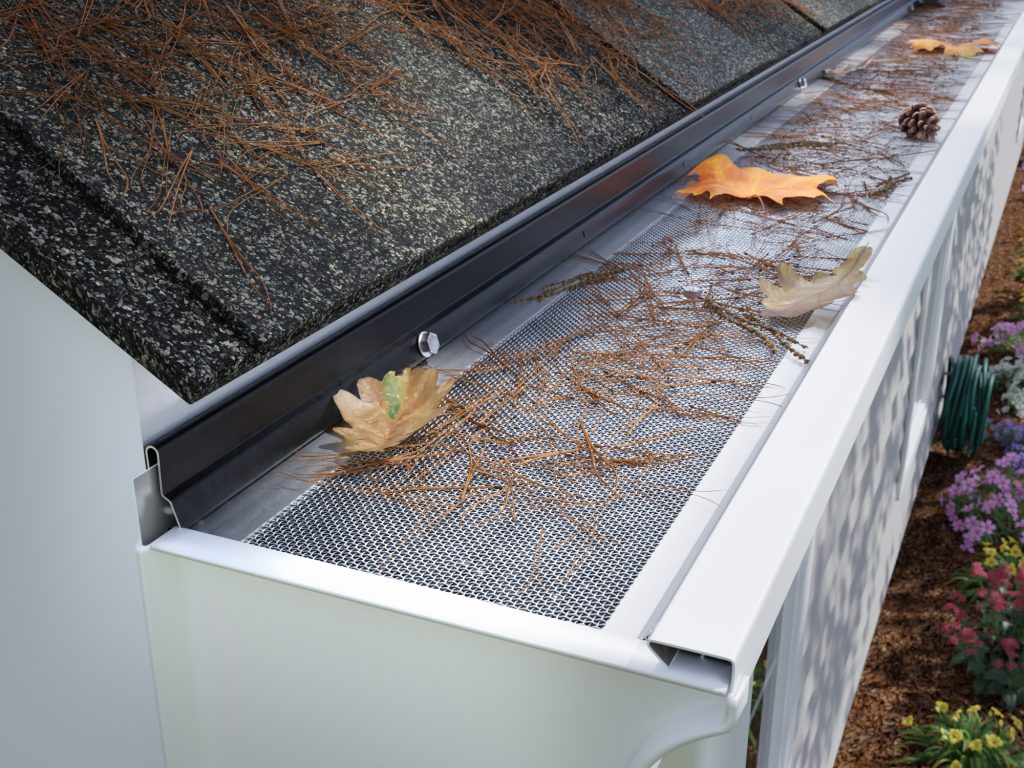
Where pine needles or other fine debris are common, the guide recommends adding the Sasquatch Fine Debris Filter. It slides into a receiving groove under the screw ledge and fastens with stainless-steel screws, and it must go on before the gutter is attached to the fascia. Roofing Contractor reports that Sasquatch with the Fine Debris Filter meets ASTM E2886 for ember intrusion.
Pre-job checklist
- Linear feet by gutter width (5 or 6 inch) and gauge (.019 or .022 Arctic Extreme).
- Outlet count, for Access Panels.
- Inside and outside corner count, and the method for each.
- Fastening schedule by elevation or building, based on debris and ice exposure.
- Fine Debris Filter, where needed.
- Gutter machine calibration checked before the run.
CCSI supplies Sasquatch for Texas commercial, multifamily, HOA, and industrial projects. See the CCSI E-Z Gutter Guard line or start on the CCSI homepage.
Frequently asked questions
How is Sasquatch handled at downspout outlets?
The install guide uses a 14-inch Sasquatch Access Panel at each outlet, leaving a clear 8 to 10-inch opening centered over the outlet.
What is the minimum fastening for Sasquatch?
1-1/2-inch screws in every third hole of the rear screw ledge. The guide recommends every hole or every other hole for heavy snow, debris, or ice load.
Are there pre-made corners for Sasquatch?
Yes. The guide describes Sasquatch Pre-Cut Mitered Corners, or crews can cut corners from Access Panels at 45 degrees.
Is Sasquatch installed on an existing gutter?
The install guide has Sasquatch installed at ground level together with the gutter, before the gutter is attached to the fascia.
Looking for a product or a quote?
Tell us about your project and we'll help you source the right building product.